Increase internal storage on the mr3020
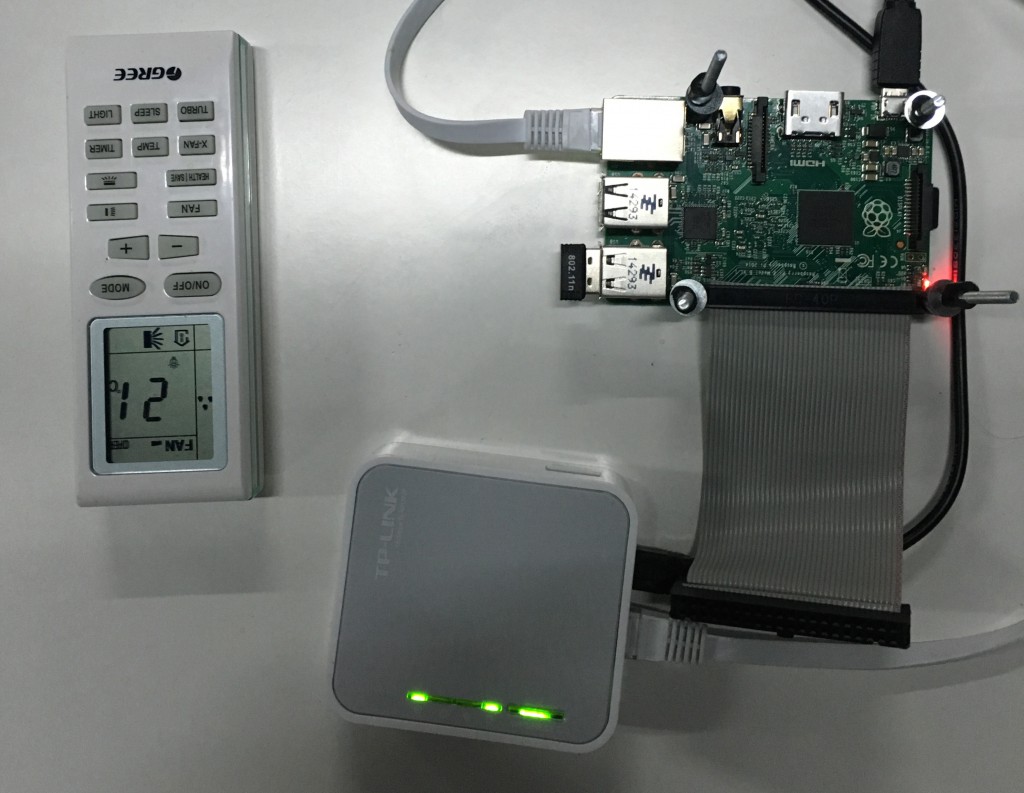
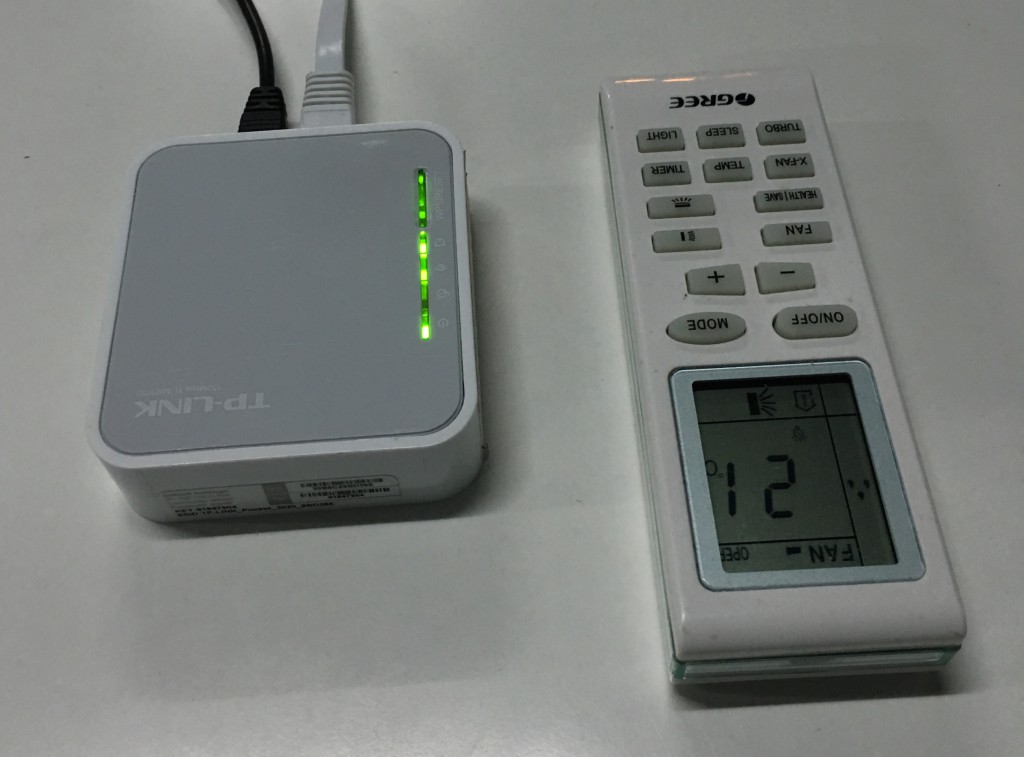
TpLink’s mr 3020 is a really small router, small enough to fit in your pocket.To put its size in perspective here is an AC remote and a raspberry pi next to the router.


For the project mytriphoto we had to setup a captive portal but the 4mb of total space on the mr3020 created an issue.We were not able to install additional packages and this created a lot of issues.
After doing a couple of google searches I came across some mods which would increase the space.But this was too much customization for my taste.Morever my soldering skills are comparable to this cat.

But then after a few more searches I came across this post on openwrt to move you root folder onto an external drive.Wow the guide looked just like the linux post is wrote a couple of months ago.
First i formatted my flash driver on a linux machine.It was quite simple.
fdisk /dev/disk1
Then I created the partition by typing ‘n’ and then ‘p’.This creates a new partition as the primary partition.
Then type ‘w’ to save the partition information.
Next is to format the drive to ext4.Fedora comes with a tool called mkfs.ext4.This formats the drive to ext4 partition.Once you were ready you can now connect it to the raspberry.
First we update the package list on the pi
opkg update
Next we install the kernel module to detect usb storages attached to the router.
opkg install kmod-usb-storage
We then install ext4 partition support on the router.We also install block-mount to allow us to mount the drive.
opkg install kmod-fs-ext4 block-mount
We then create a folder and mount the partition.We also create a temporary folder in the tmp folder and bind it to / path.This makes sure that there are no issues when copying the files.Then we zip the files and folder and extract it into the /mnt/sda1 folder.We then unmount the folders.
mkdir -p /mnt/sda1
mount /dev/sda1 /mnt/sda1
mkdir -p /tmp/cproot
mount --bind / /tmp/cproot
tar -C /tmp/cproot -cvf - . | tar -C /mnt/sda1 -xf -
umount /tmp/cproot
umount /mnt/sda1
Since we installed block-mount it modifies the /etc/config/fstab and adds the mount option. We then edit the config mount target to / and enabled to 1.
config mount
        option target   /
        option device   /dev/sda1
        option fstype   ext4
        option options  rw,sync
        option enabled  1
        option enabled_fsck 0
Now reboot the router and enjoy the extra space on the router to play around with